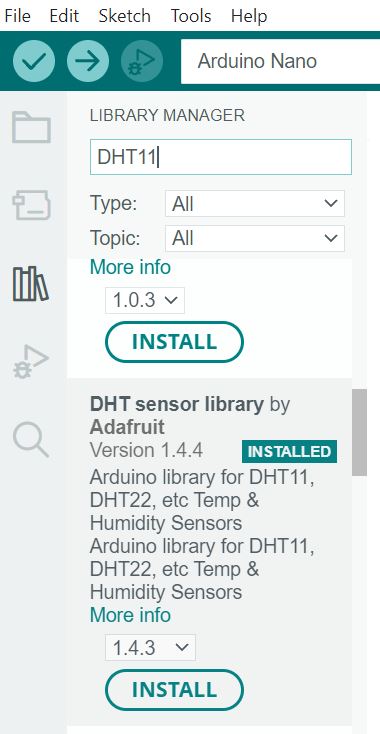
On line 19, remove the // to declare the DHT11 sensor type.
Add the // to line 20 to comment out the DHT22.
Unplug the Breadboard Power Supply.
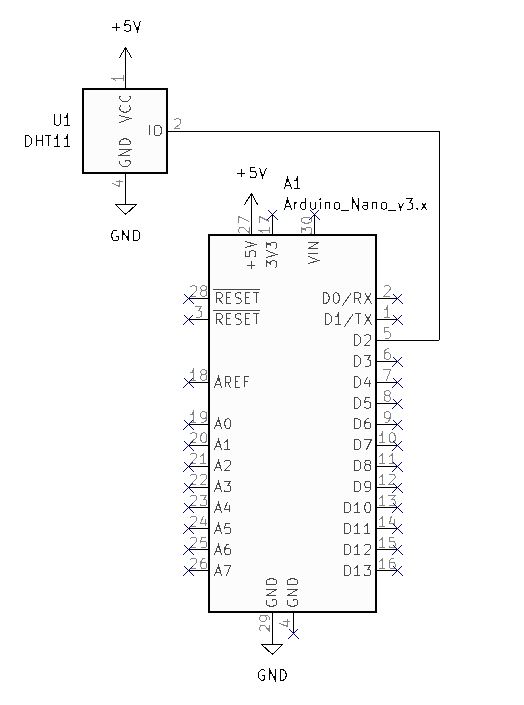
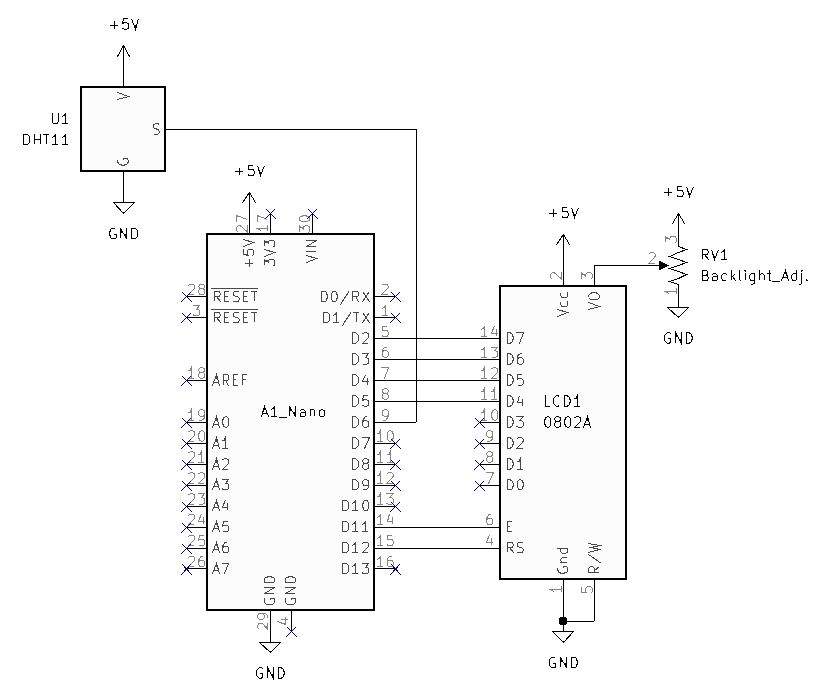
Wire the circuit and connect the Arduino Nano to your computer.
Verify and Upload the sketch to the Arduino Nano.
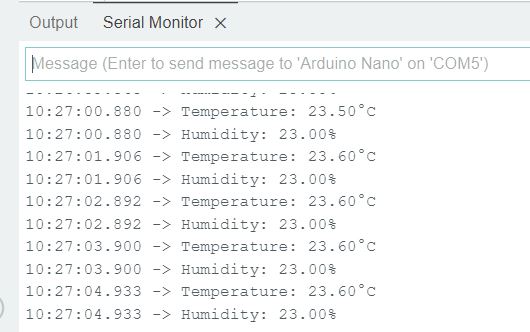
Open the Serial Monitor and observe the sensor data.
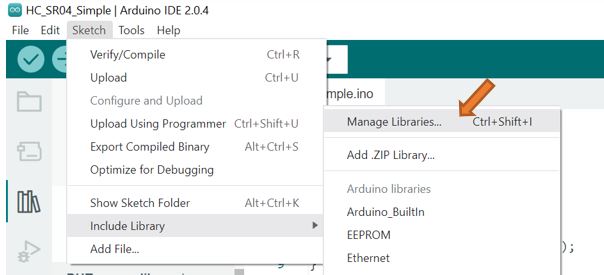
Code Challenge!:
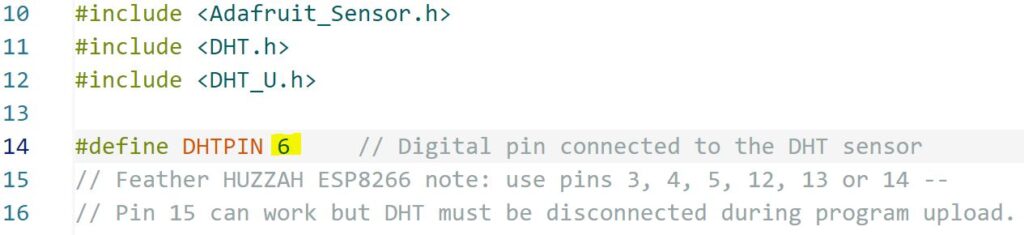
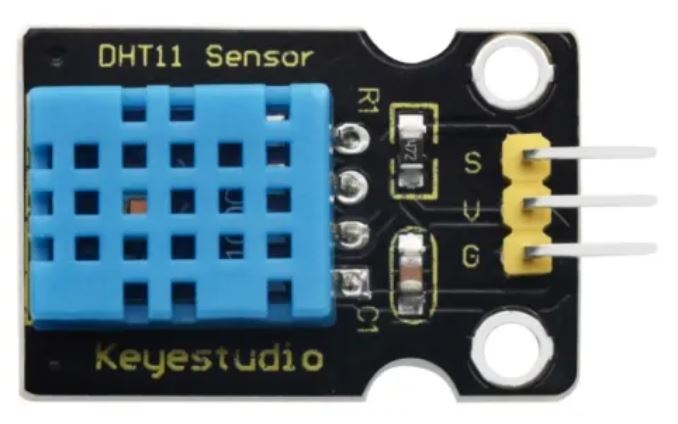
Move the DHT11 sensor output to D6 of the Nano.
Modify the code to display the temperature in Fahrenheit instead of Celsius.
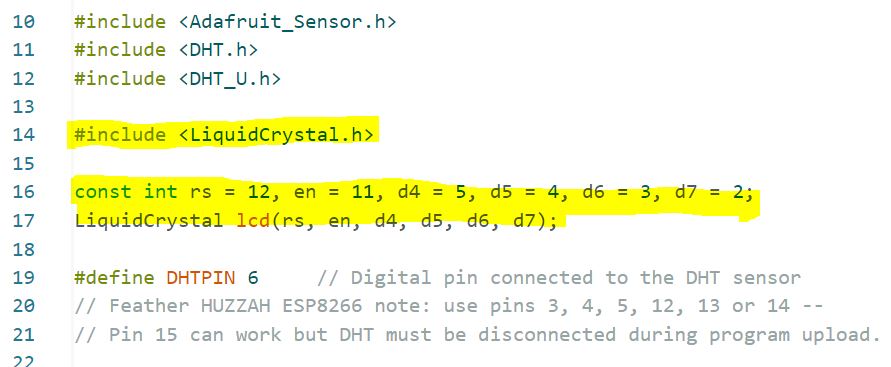
Set DHTPIN to 6.
Very and Upload the code to the Arduino Nano.
Verify operation using the Serial Monitor.
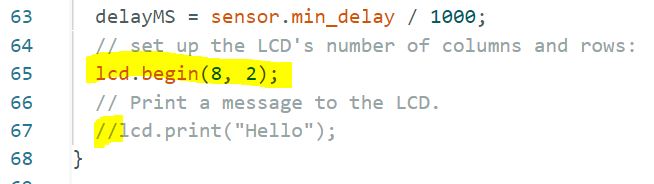
You can use the Line 67 code to verify your LCD is working correctly. Comment out line 67 when the LCD test is complete.
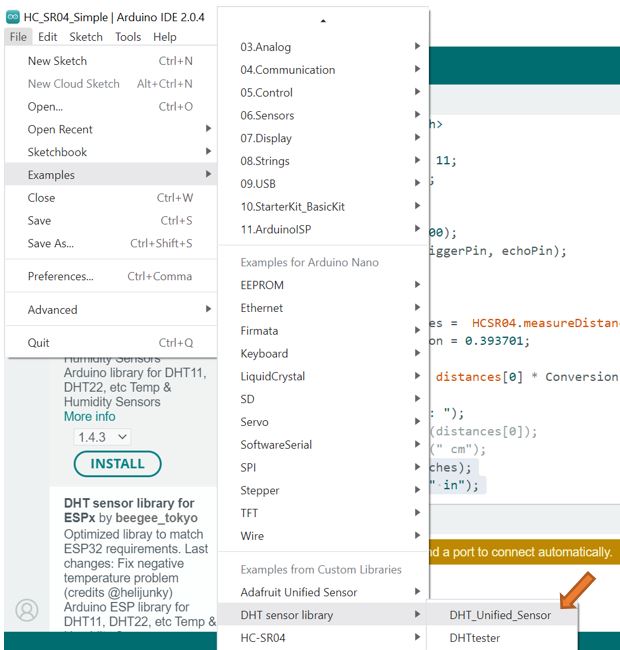
See if you can interpret the code.
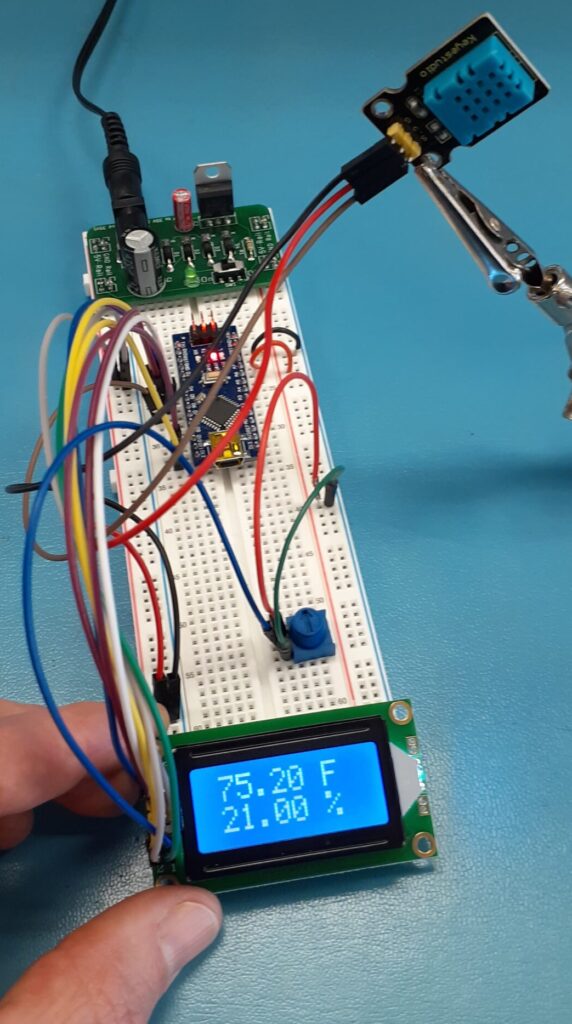
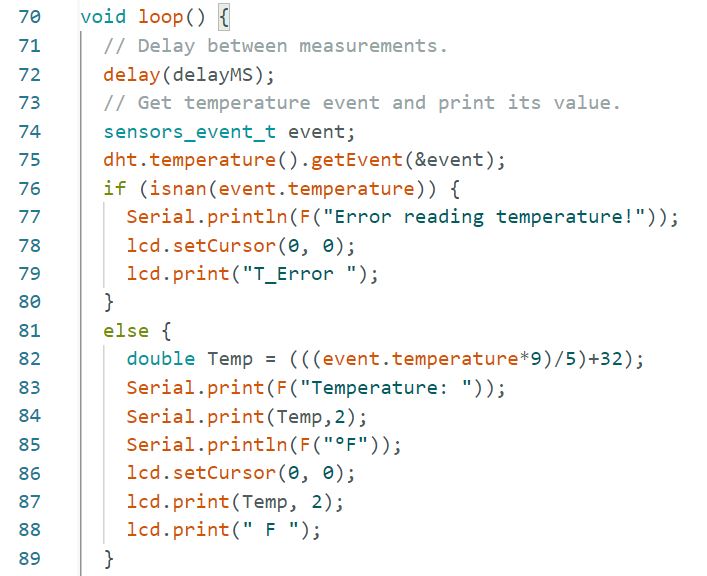
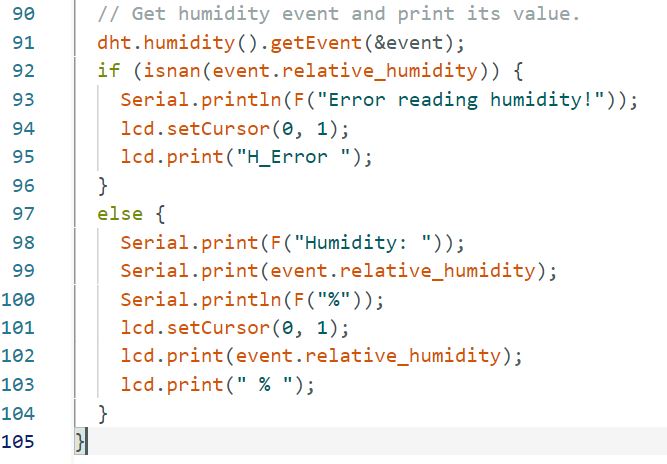
At the sensor pull the “S” wire and verify that the errors are displayed on the LCD. Reconnect the wire and verify that the LCD displays temperature and humidity.